The making and remaking of a telescope
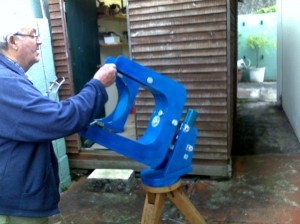
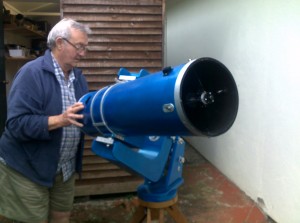
• The original telescope was designed as a fork mounted equatorial. Optically, it was intended to be a variation of the Classic Cassegrainian with perforated primary but with the focus taken out sideways in a Nasmyth configuration instead of through the perforated primary. This is achieved by using a positive convex secondary (normally requiring very special figuring to a hyperbolic) and a flat diagonal mounted through the hole in the primary taking the focal plane to one side The advantage would be a high magnification factor by extending the effective focal length to f15 from an f5 primary.
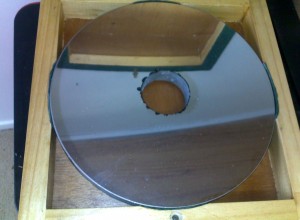
• The original mirror was intended to be 233 mm. diameter with a 42 mm. perforation and ground and figured accordingly. The biggest difficulty would be the size and figuring of the secondary but in confirming the design requirements it was found that an available spherical lens (ex binocular objective) would perform well if the primary was reduced to 212 mm. which did not require any re-figuring, the outer edge needing only to be blanked. Then the fatal mistake was made. Instead of just having a blanked outer edge it would look neater if the mirror was re cut to 212 mm. diameter. Caveat: doing this is likely to relieve any internal stresses around the edge (which is always highly probable) and this could badly affect the figuring. This is exactly what happened. The final image quality was very poor and the mirror had to be abandoned.
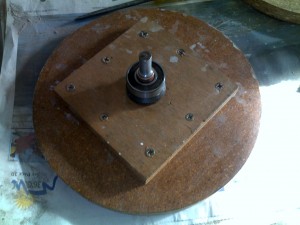
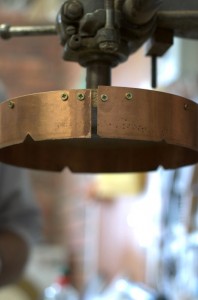
• To take maximum advantage of the existing telescope tube a new f4 mirror of 220 mm. was proposed in a standard Newtonian configuration. This would entail replacing the original spherical secondary with a standard diagonal and moving the focuser to the top of the tube to align with the diagonal, these modifications being easy to do.
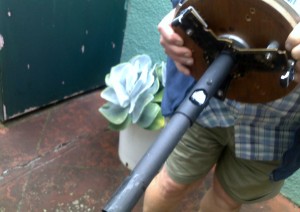
• The new mirror disc was cut from a piece of 22 mm. thick plate glass using a “biscuit” cutter made from a strip of 1mm thick copper fixed to a 220 mm. disc of wood with a spindle to fit a drill press. The cutter was driven at a speed of 100 rpm. #90 grit carborundum used as the abrasive medium. A “dam” of a bead of silicon rubber was placed on the glass blank to prevent the grit from being thrown out by the rotating cutter. A light downward pressure applied to the cutter while running, and a small amount of grit fed periodically into the groove being formed to maintain maximum cutting speed. It took total of about 3 hours to cut the glass disc right through.
• There was insufficient glass available to cut a second disc for a tool in the traditional method of mirror grinding. A pure cement disc was cast and one side shaped with a template cut from sheet aluminium to the curvature required for the mirror surface and cured and hardened for a week immersed in water. The curved surface was then covered with a layer of small ceramic squares cut from a standard glazed floor tile and glued in place with a slow setting high strength epoxy adhesive.
• The surface of the glass disc was then roughed out to approximately the required radius of curvature of the mirror. The glass blank was fixed to a wood disc with a short spindle and bearing attached to the drill press table and driven at a very low speed by a portable electric drill. Hanging from the ceiling, centred over the glass blank, a small angle grinder fitted with a ceramic grinding disc was suspended on a “pendulum” of the length of the radius needed at the grinding face. In very gentle steps and with copious cooling from a continuous spray of water the roughing out of the glass disc was done. This was a nerve wracking experience as the slightest mistake in handling could result in the glass disc being shattered or possibly leave a deep groove in the surface which would take an inordinate amount of grinding to remove and leave a disc of marginal thickness. It took about an hour of careful roughing to reach the final depth at the centre of the curved surface.
